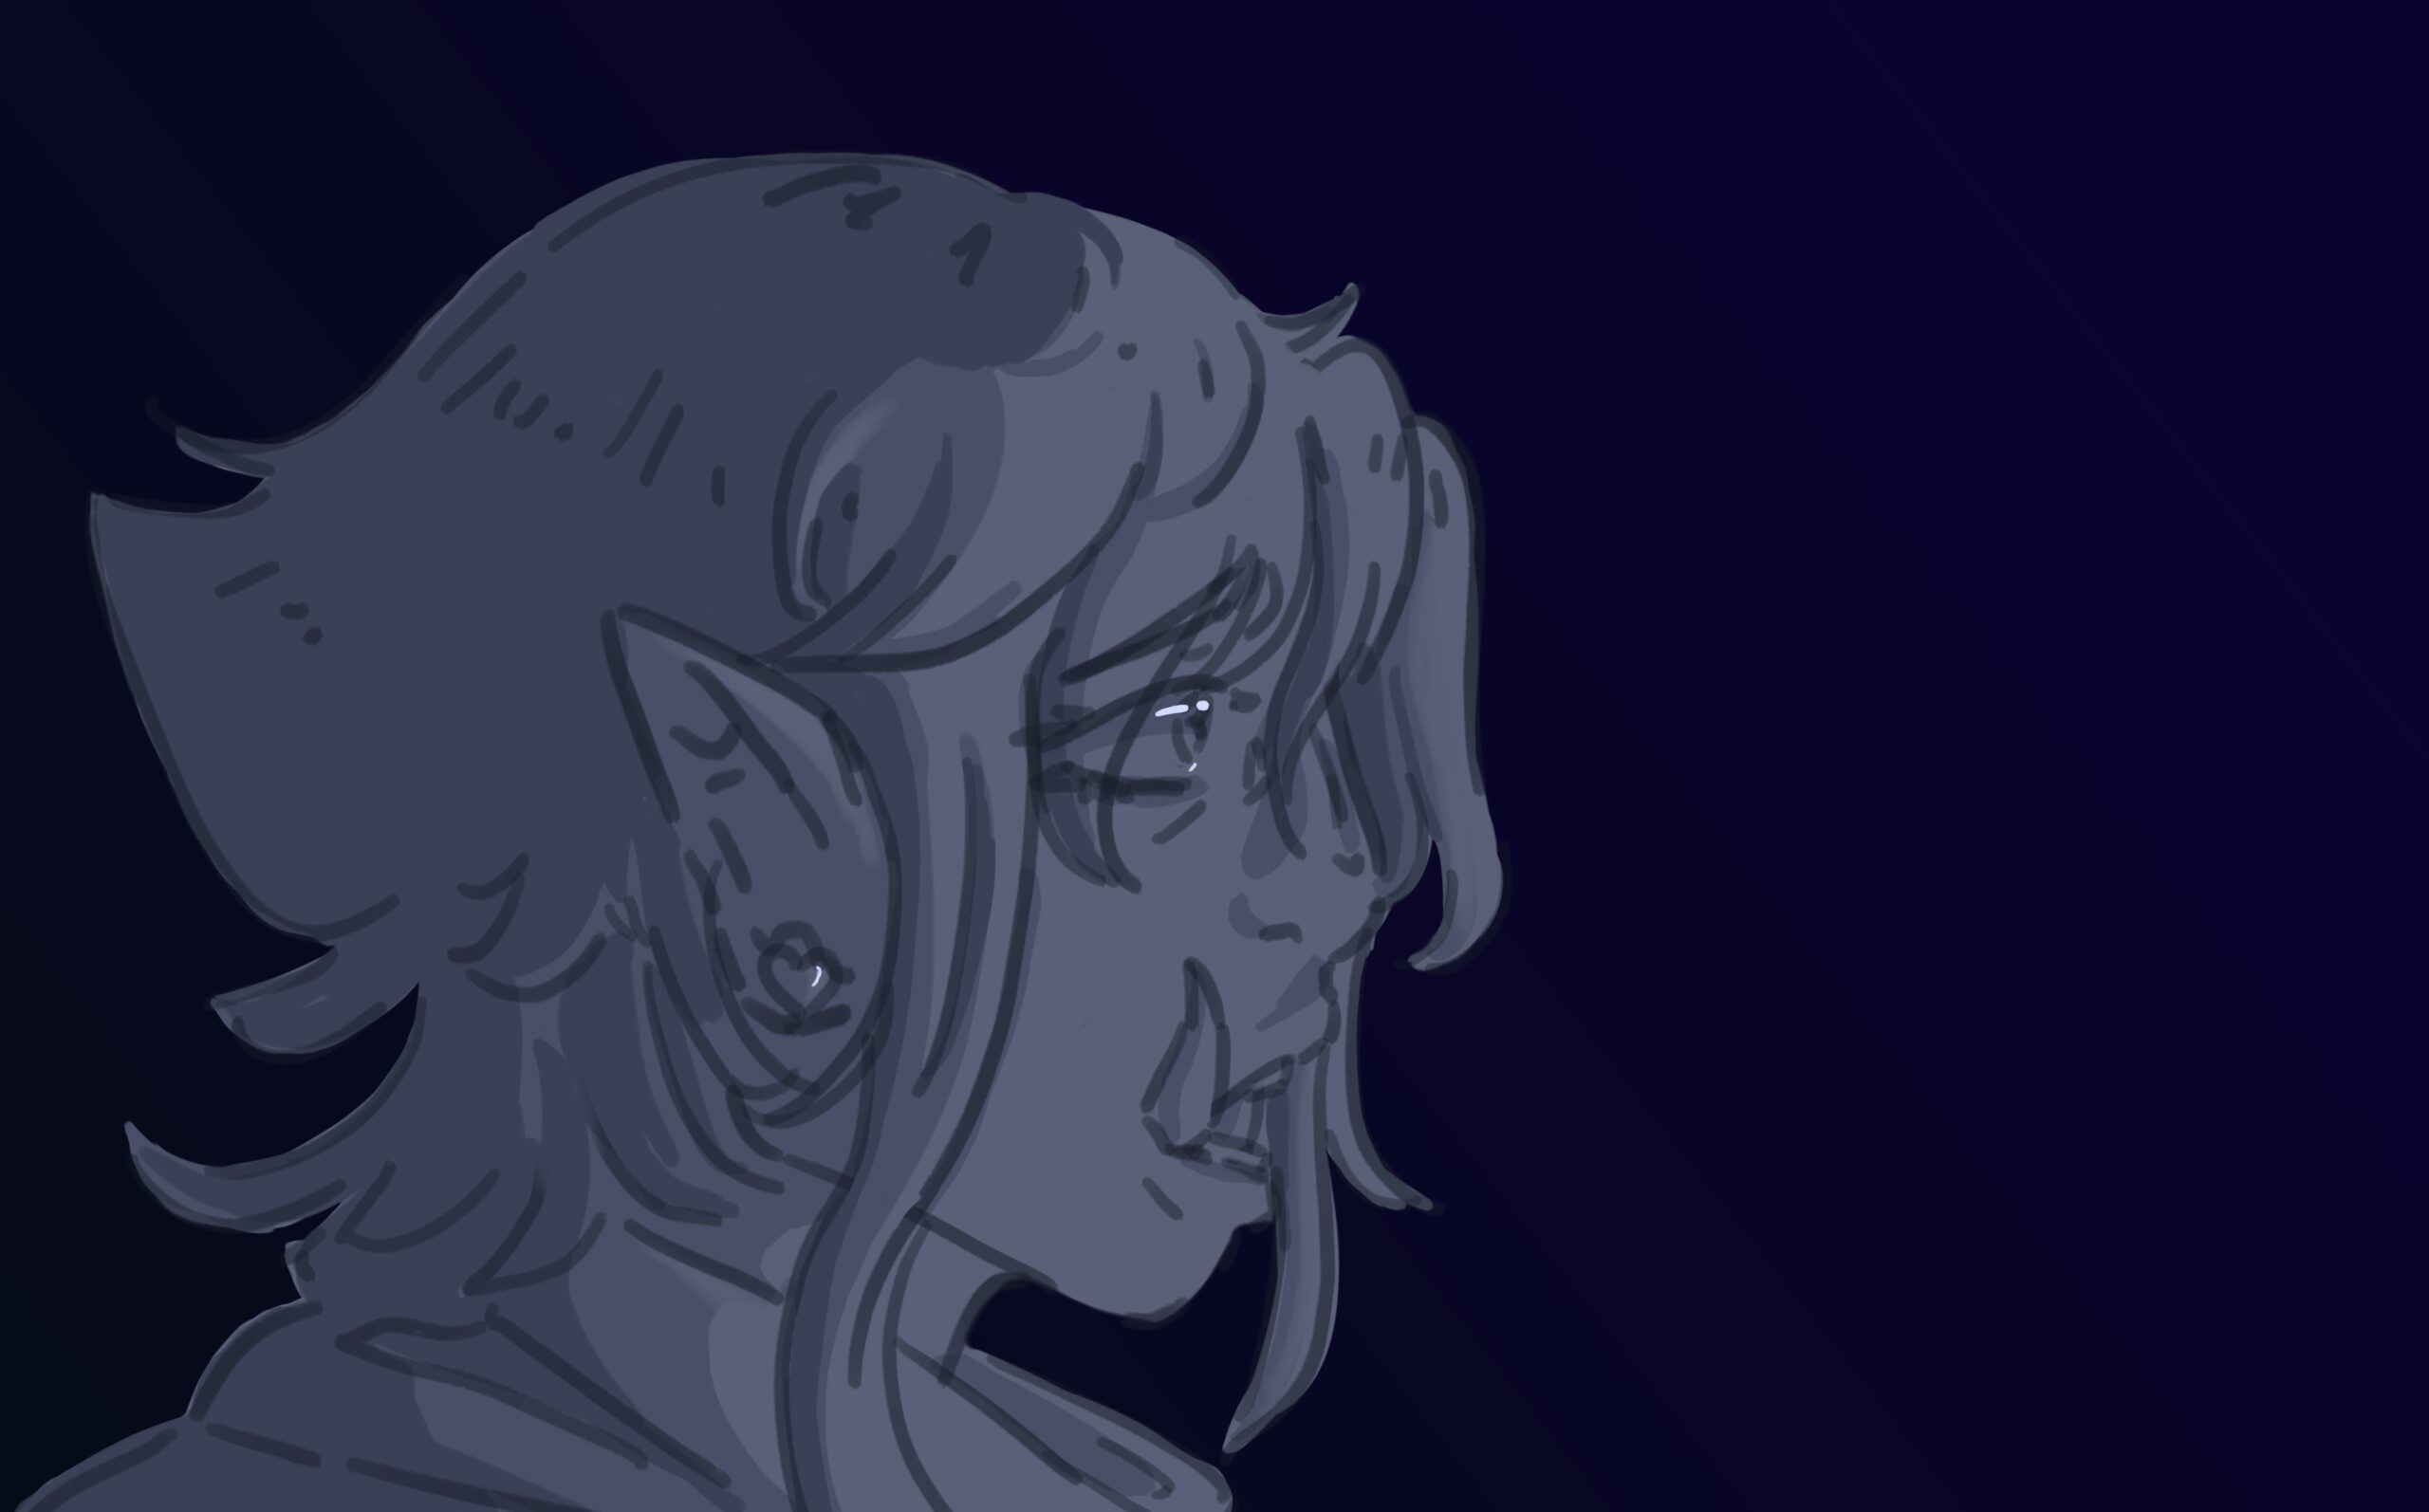
Animatic Creation Process
I’ve created a few animatics in the last year and a half, from simple silly six second videos to a recent 2 minute scripted animatic with over sixty frames. It’s something that can take a lot of time (unless you lock in and finish it in like two days), and if you don’t have a plan its going to be really hard to stick to.
Storyboarding

Animatics themselves are normally storyboards for actual animations, so it’s funny thinking that you need to make storyboards for storyboards. However, for a project like this I very much suggest you do so, it’ll be very hard to keep up motivation otherwise without being sure of your direction. If you’re worried that this will box you in, remember the point of the board is just to give you a direction, if you have an idea for an unplanned frame or a new way to go about things you can always change it. For the storyboard I created for The Accident, it was an idea I came up with pretty quickly and knew I wanted to keep it very simple as I had no plans on making it a longterm project.
Frame Drawing Process
Drawing the actual frames is a process that I think may very between different people, for me personally I prefer doing it in my normal drawing program (I use infinite painter!) and then exporting each frame into a folder where I keep all the assets I need for the project. I did recently use FlipaClip, a pretty simple animation program. Honestly it wasn’t too bad, but it’s definitely made for actual animation rather than animatics, but it has some cool features like having the ability to add your audio in before to see how it aligns (I sadly didn’t have my audio ready and couldn’t use this feature).
For the actual drawing consider whether or not you want it in full colour, most people avoid this as it adds time to the process, but it can be fun, I myself try to keep the palette mostly limited for my own sanity.
